


Looking for a secure SMTP plugin that helps you receive email notifications from your WordPress contact forms? With WP Mail SMTP, you can fix delivery issues by authenticating emails through your Gmail or G Suite account — all while keeping your login credentials safe.
In this post, we’ll show you how to set up WP Mail SMTP for sending WordPress emails with your Gmail or G Suite email address.
Why You’re Not Receiving Notifications
By default, WordPress uses the PHP mail function to send emails generated by WordPress or any contact plugin like WPForms. The most common reason for not getting emails is that your WordPress hosting server is not configured to use PHP mail function.
In addition to this, anti-spam efforts by email providers can impact your emails as well. As part of their filtering process, many email providers will check whether your email originates from the same domain noted in the From Email. For example, if your email claims to be sent from your Gmail address but is actually sent from your website’s server (rather than Gmail’s server), your email may be sent to spam or not be delivered at all.
You can fix this by using SMTP instead of the PHP mail function. SMTP (Simple Mail Transfer Protocol) is the industry standard for sending emails reliably.
Why Use the WP Mail SMTP Plugin?
The main benefit of using the WP Mail SMTP plugin is that it lets you send WordPress emails securely using your Gmail or G Suite account without requiring to enable less secure apps in your account.
In addition, unlike many other SMTP options, you won’t need to enter your Gmail username and password in your WordPress dashboard where other site users can see them. By using this method, you’ll help to keep your WordPress site secure.
Let’s take a look at how to set up WP Mail SMTP for sending WordPress emails.
Step 1: Install the WP Mail SMTP Plugin
The first thing you need to do is to install and activate the WP Mail SMTP plugin. For step-by-step instructions,
After installing and activating WP Mail SMTP, go to Settings » WP Mail SMTP to open the plugin settings page.
At the top of this page, you can set theFrom Email and From Name. By default, these will fill with your site’s admin email and site name.
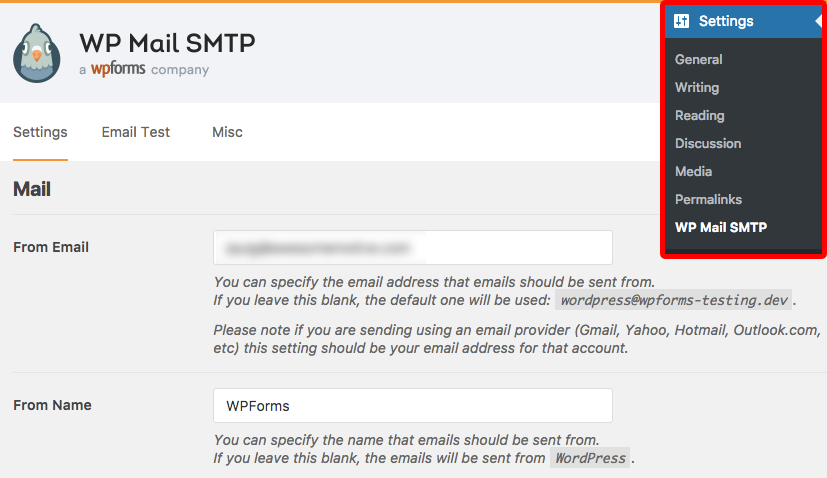
For the From Email, be sure this is set to your Gmail or G Suite email address before continuing.
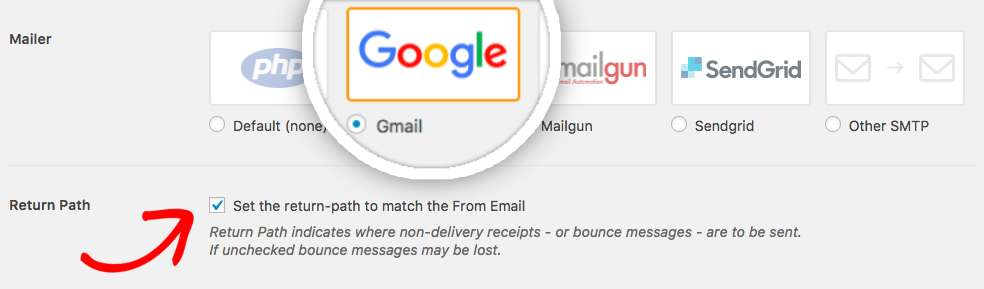
After these basic settings are ready, you’ll need to scroll to the Mailer field and select the Gmail option.
We also recommend checking the Return Path option to Set the return-path to match the From Email. That way, you’ll be notified about bounced emails, just as you would when using your email normally.
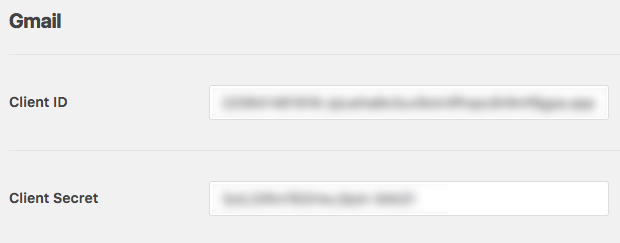
Next, you should see a new Gmail section appear. Here, you’ll see fields for Client Secret and Client ID.
To get the information for these fields, you’ll need to create a web application through your Google account. This doesn’t require any coding, and we’ll show you exactly what to do.
Step 2: Create a Web Application
To create an application, you’ll first need to sign in and access Gmail’s application registration. Clicking that link should open this Google page in a new tab or window, and you’ll want to keep your site settings open (we’ll return to those later).
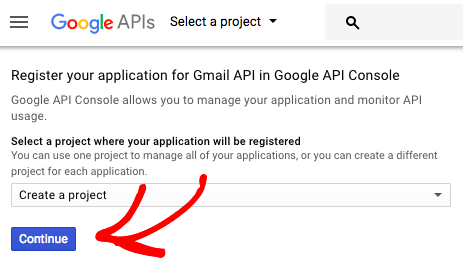
Once you’ve followed that link and logged into your Gmail account, you should see a form named “Register your application for Gmail API in Google API Console”.
In the dropdown labeled Select a project where your application will be registered, leave the default option ofCreate a project. Then, go ahead and click the Continue button.
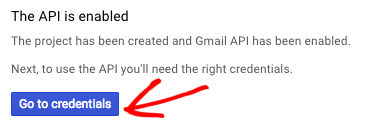
Next, you should see a screen that says “The API is enabled”. To proceed to the setup page, click the Go to credentialsbutton.
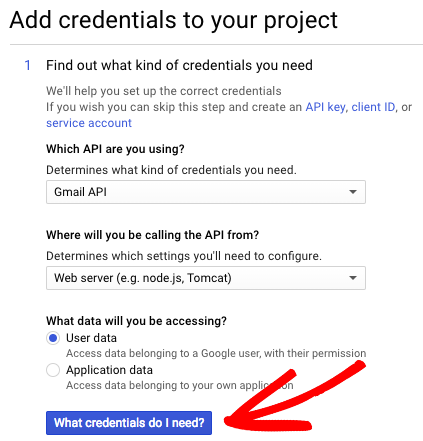
In the next page, you’ll be prompted to determine the credentials you need. Here are the fields on this page and the options you’ll need to select:
- Which API are you using? Gmail API
- Where will you be calling the API from? Web server (e.g. node.js, Tomcat)
- What data will you be accessing?User data
Once you’ve made these selections, click the What credentials do I need? button to go to the next step.
For this step, you’ll be creating an OAuth client ID. OAuth, or Open Authorization, is what will provide permission for your website to use your Gmail account to authenticate emails.
For the Name field, enter anything you like or leave the default name. This is only for reference within your Google account.
For the Authorized JavaScript origins, you’ll need to enter your site’s URL.
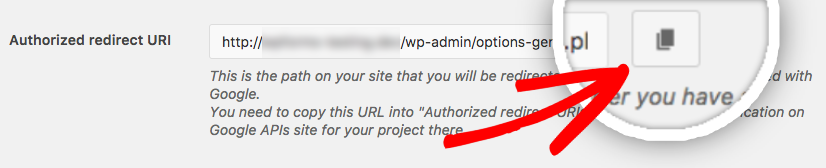
Last, we need to fill out the Authorized redirect URIs field. To get the URI for your site, you’ll need to go back to the tab or window with your WordPress site. Still on the Settings » WP Mail SMTP page, you’ll need to look under the Gmail section for the field labeled Authorized redirect URI.
The value in this field should be your site’s URL followed by some extra details. You’ll need to copy this value, which is easily done by clicking the button with the copy icon.
After copying the URI, return to the Google APIs page and paste it into the field under Authorized redirect URIs.
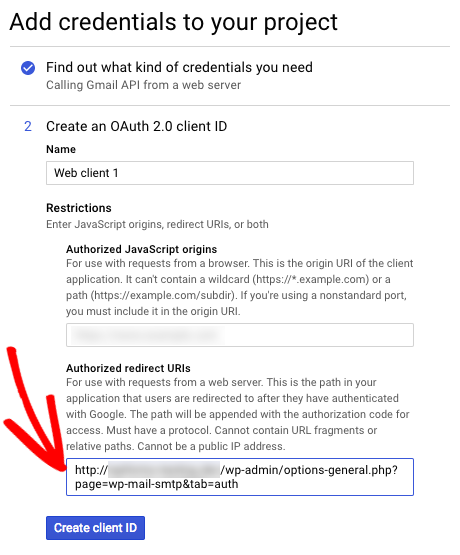
After that, you can click the Create client ID button.
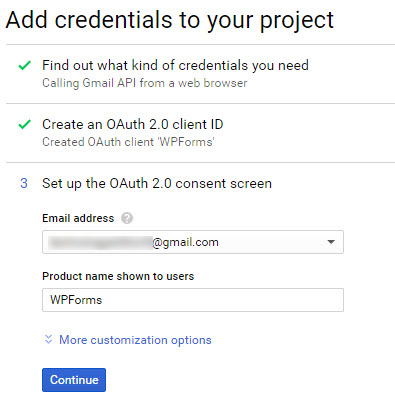
For the last step in the app creation process, you’ll need to set up the consent screen. This screen will never be seen by your users since you’re only granting permission for your own site to use the Gmail account you own.
You’ll just need to check your email address and then enter a Product name shown to users (such as the title of your website). When you’ve completed these fields, click Continue.
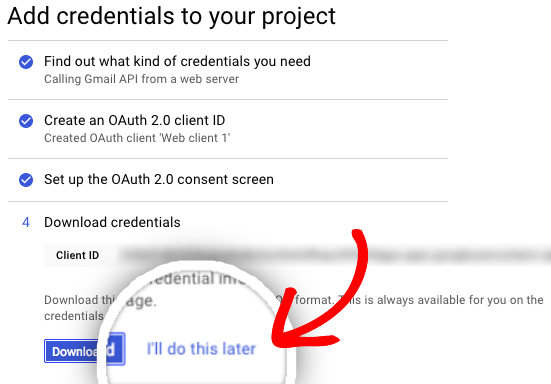
You’ve now successfully created a Gmail web application!
Now we need to see the full details. On the last screen, click I’ll do this later to go to the Credentials page.
Step 3: Grant Permissions and Send Test Email
On the Credentials page, you can now see the details of the web application you just created. To view Client ID and Client Secret, click the edit icon.
This will open all of the details for your app. On this page, you’ll need to copy theClient ID and Client secret values.
Each of these will need to be copied into your WP Mail SMTP settings back in your WordPress admin.
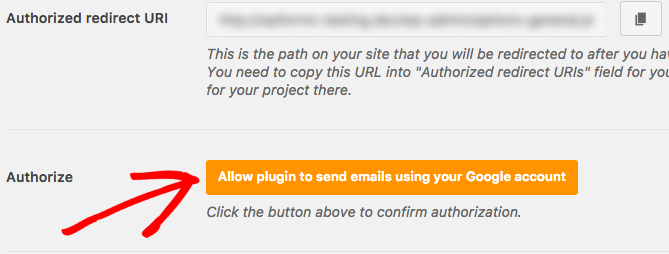
After saving these settings, the page will refresh. Before Google allows this information to be used to connect to your account, however, you must grant permission.
To do this, scroll to the bottom of this page and click the button labeled Allow plugin to send emails using your Google account.
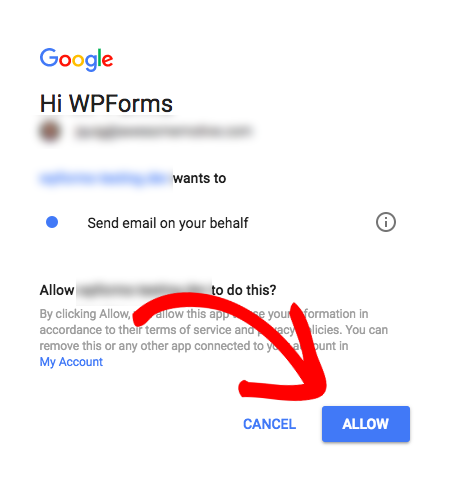
This will open a login screen for Google. Go ahead and log into the account you’re setting this SMTP up with. Then, you’ll see a screen asking for permission for this site to send email on your behalf.
When you’re ready, click the Allowbutton to proceed.
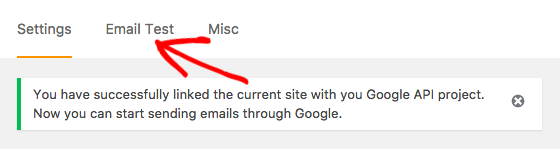
Next, you’ll be returned to your WP Mail SMTP settings and a success message will be displayed. Now that the connection is complete, you’re ready to send a test email under the Email Testtab.
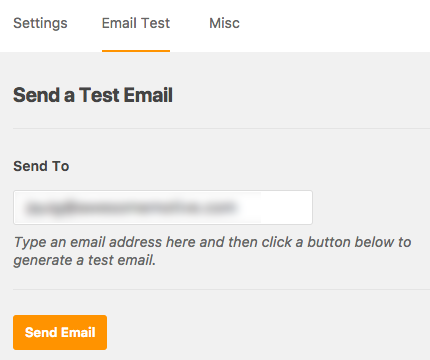
Once the Test Email tab is open, you’ll need to enter a valid email address and click the Send Email button. Be sure to use an email address you have access to so you can confirm the email is delivered.
When the test message has been sent, you’ll see a success message at the top of this tab.
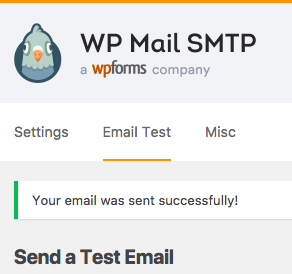
You should also soon receive a test email at the email address you entered.

That’s it! You’ve successfully configured SMTP on your WordPress site
Copy the link below and Share with your Friends:
 About Blogindoor
Bloggerdroidseo.com.ng Is A Top Tech Blog That Provides Free And Cheap Browsing Cheats On Mtn, Etisalat, 9mobile, Glo And Airtel, Latest Phone And PC Updates, Tweaking Guides And Tech News.
I learn some new stuff from it too, thanks for sharing your information. hotmail.com login page
ReplyDeletePeople face some issues like spam emails and virus attached, for this we need to use WordPress antispam plugin to get rid of these type of spam issues.
ReplyDelete